Why Getting Your Ductless Sizing Right Matters Most
A ductless sizing chart is your starting point for choosing the right BTU capacity for your mini-split system, but using it correctly can mean the difference between year-round comfort and costly energy bills.
Quick Sizing Reference:
- 150-400 sq ft → 9,000 BTU
- 400-550 sq ft → 12,000 BTU
- 550-1,000 sq ft → 18,000 BTU
- 1,000-1,250 sq ft → 24,000 BTU
- 1,250-1,350 sq ft → 30,000 BTU
- 1,350-1,500 sq ft → 36,000 BTU
The basic formula is simple: multiply your room’s square footage by 25 to get your estimated BTU needs. However, factors like ceiling height, insulation quality, and climate can significantly affect this calculation.
An undersized system will run constantly without reaching your desired temperature, while an oversized unit will short-cycle and waste energy. Both scenarios lead to higher utility bills and premature system failure.
As Colin Matei, owner of Clean Air Heating & Cooling, I’ve helped countless homeowners in Whatcom and Skagit Counties avoid the frustration of improperly sized systems by using a ductless sizing chart as the foundation for their comfort solutions. My experience has shown that while these charts provide excellent starting points, professional load calculations ensure optimal performance for our Pacific Northwest climate.
Why Proper Mini-Split Sizing is Non-Negotiable
Getting your mini-split size right isn’t just a nice-to-have—it’s absolutely essential for your comfort, your wallet, and your system’s lifespan. After years of helping homeowners in Whatcom and Skagit Counties, we’ve seen what happens when systems aren’t properly sized, and trust me, it’s not pretty.
Think of it like buying shoes. Too small, and you’re in constant pain. Too big, and you’re tripping over yourself. Your mini-split works the same way—it needs to be just right to perform its best.
When your system isn’t sized correctly using a proper ductless sizing chart, you’ll face a cascade of problems. Undersized systems run themselves ragged trying to keep up, while oversized systems waste energy through constant short-cycling. Both scenarios lead to inadequate dehumidification, higher energy bills, and premature wear and tear that’ll have you calling for repairs way sooner than you should.
The importance of correctly sized heat pumps can’t be overstated—proper sizing is the foundation of everything else your system does. When we talk about mini split cooling efficiency, it all starts with getting the size right from day one.
The Problem with an Undersized Mini-Split
Picture this: your mini-split is humming away all day and night, working harder than a coffee shop barista during morning rush, but your room never quite reaches that comfortable temperature you’ve set. That’s life with an undersized system.
Constant operation becomes the norm because your poor little unit simply doesn’t have enough muscle to handle your space’s heating and cooling needs. It’s like asking a compact car to tow an RV—technically possible, but not sustainable.
The failure to reach set temperature creates those frustrating hot and cold spots throughout your room. You might be comfortable by the unit while the far corner feels like a different climate zone entirely.
All this extra work translates to increased energy consumption and serious system strain. Your unit’s components are working overtime, every day, which dramatically shortens its reduced lifespan. What should have been a 15-20 year investment becomes a costly replacement in just a few years.
The Problem with an Oversized Mini-Split
Now you might think, “Well, I’ll just go bigger to be safe!” But hold on—oversized systems create their own special brand of misery.
Frequent on/off cycles become the enemy here. Your oversized unit cranks up, blasts your space with cooling or heating, then shuts down before it can properly do its job. Minutes later, it fires up again, creating this exhausting stop-start dance that wastes energy with every startup.
The real kicker? Poor humidity control that leaves your home feeling like a damp cave. Your oversized system doesn’t run long enough to pull moisture from the air, creating that clammy feeling that makes you want to crank the thermostat even lower.
This constant stopping and starting puts unnecessary component stress on your system’s heart—the compressor. Understanding how ductless mini split systems work helps you appreciate why this cycling is so damaging to your investment.
The bottom line? Whether too big or too small, an improperly sized system will cost you more money, deliver less comfort, and break down sooner. That’s why starting with an accurate ductless sizing chart and professional guidance makes all the difference.
How to Use a Ductless Sizing Chart for Your Home
Using a ductless sizing chart properly is like following a recipe – you need the right ingredients and measurements to get the perfect result. The good news is that it’s not complicated, and we’ll walk you through each step to help you find the right BTU capacity for your space.
Think of this as your roadmap to comfort. While a ductless sizing chart gives you an excellent starting point, every home is unique. We’ve put together a comprehensive guide on what size mini split you need that dives even deeper into the specifics.
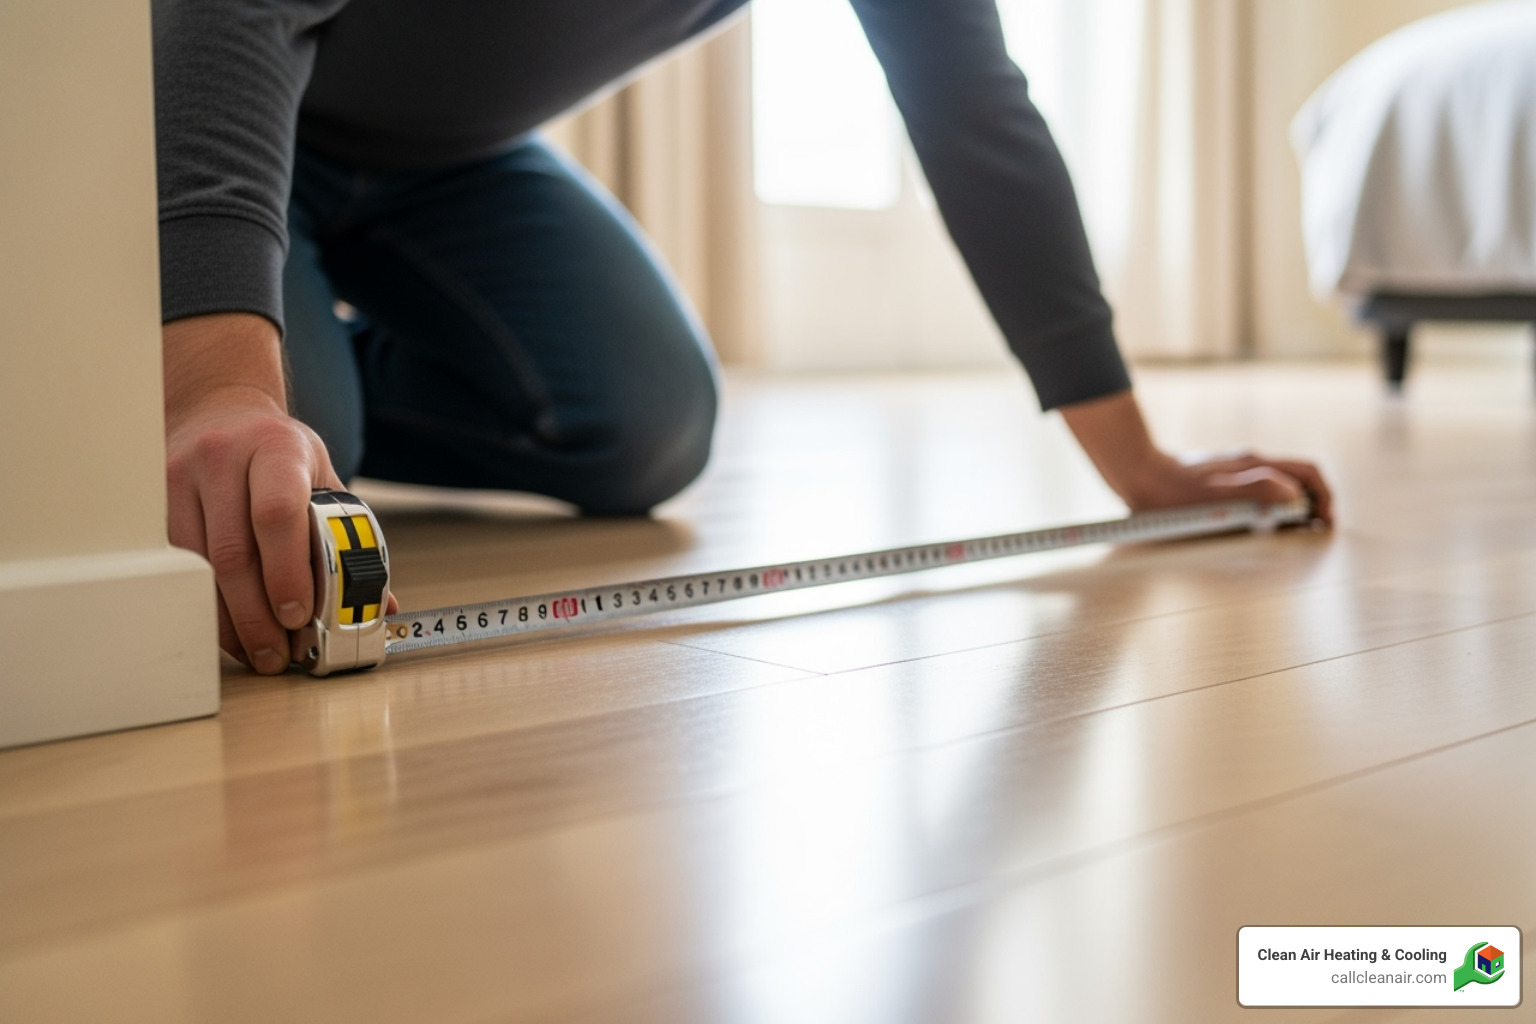
Step 1: Calculate Your Room’s Square Footage
Getting accurate measurements is the foundation of using any ductless sizing chart effectively. Grab a tape measure and maybe recruit a friend to help – it’ll make the job easier and more accurate.
For rectangular rooms (which covers most spaces), simply measure the length and width in feet, then multiply them together. A 15-foot by 20-foot living room gives you 300 square feet. Easy enough!
For irregular shapes like L-shaped rooms or spaces with alcoves, break them down into smaller rectangles. Calculate each section separately, then add them together. For example, if you have an L-shaped room, measure the main rectangle and the smaller extension, then combine the square footage.
For round rooms (yes, they exist!), measure from the center to the wall (that’s your radius), square that number, then multiply by 3.14. A room with a 12-foot radius would be 12 x 12 x 3.14 = about 452 square feet.
Take your time with this step. Accurate measurements now save you from comfort problems later.
Step 2: Your Basic Ductless Sizing Chart
Once you have your square footage, you can use this ductless sizing chart to find your starting BTU requirement. BTU stands for British Thermal Unit – it’s simply how we measure heating and cooling power. Think of it as the horsepower for your comfort system.
The general rule is to multiply your square footage by 25 to get your base BTU needs. Here’s how that translates into real-world sizing:
| Room Size (Sq Ft) | Recommended BTU Output | Typical Use Case |
|---|---|---|
| 150–400 | 9,000 BTUs | Small bedroom, home office, small sunroom |
| 400–550 | 12,000 BTUs | Master bedroom, small living room, small apartment |
| 550–1,000 | 18,000 BTUs | Large living room, open studio, large office |
| 1,000–1,250 | 24,000 BTUs | Apartment, small home, open floor plan |
| 1,250–1,350 | 30,000 BTUs | Large open floor plans, multiple connected rooms |
| 1,350–1,500 | 36,000 BTUs | Very large open areas, commercial spaces |
This chart assumes “average” conditions – standard ceiling height, decent insulation, and moderate climate. But your home isn’t average, is it? That’s where the next step becomes crucial.
Step 3: Adjust for Your Home’s Unique Factors
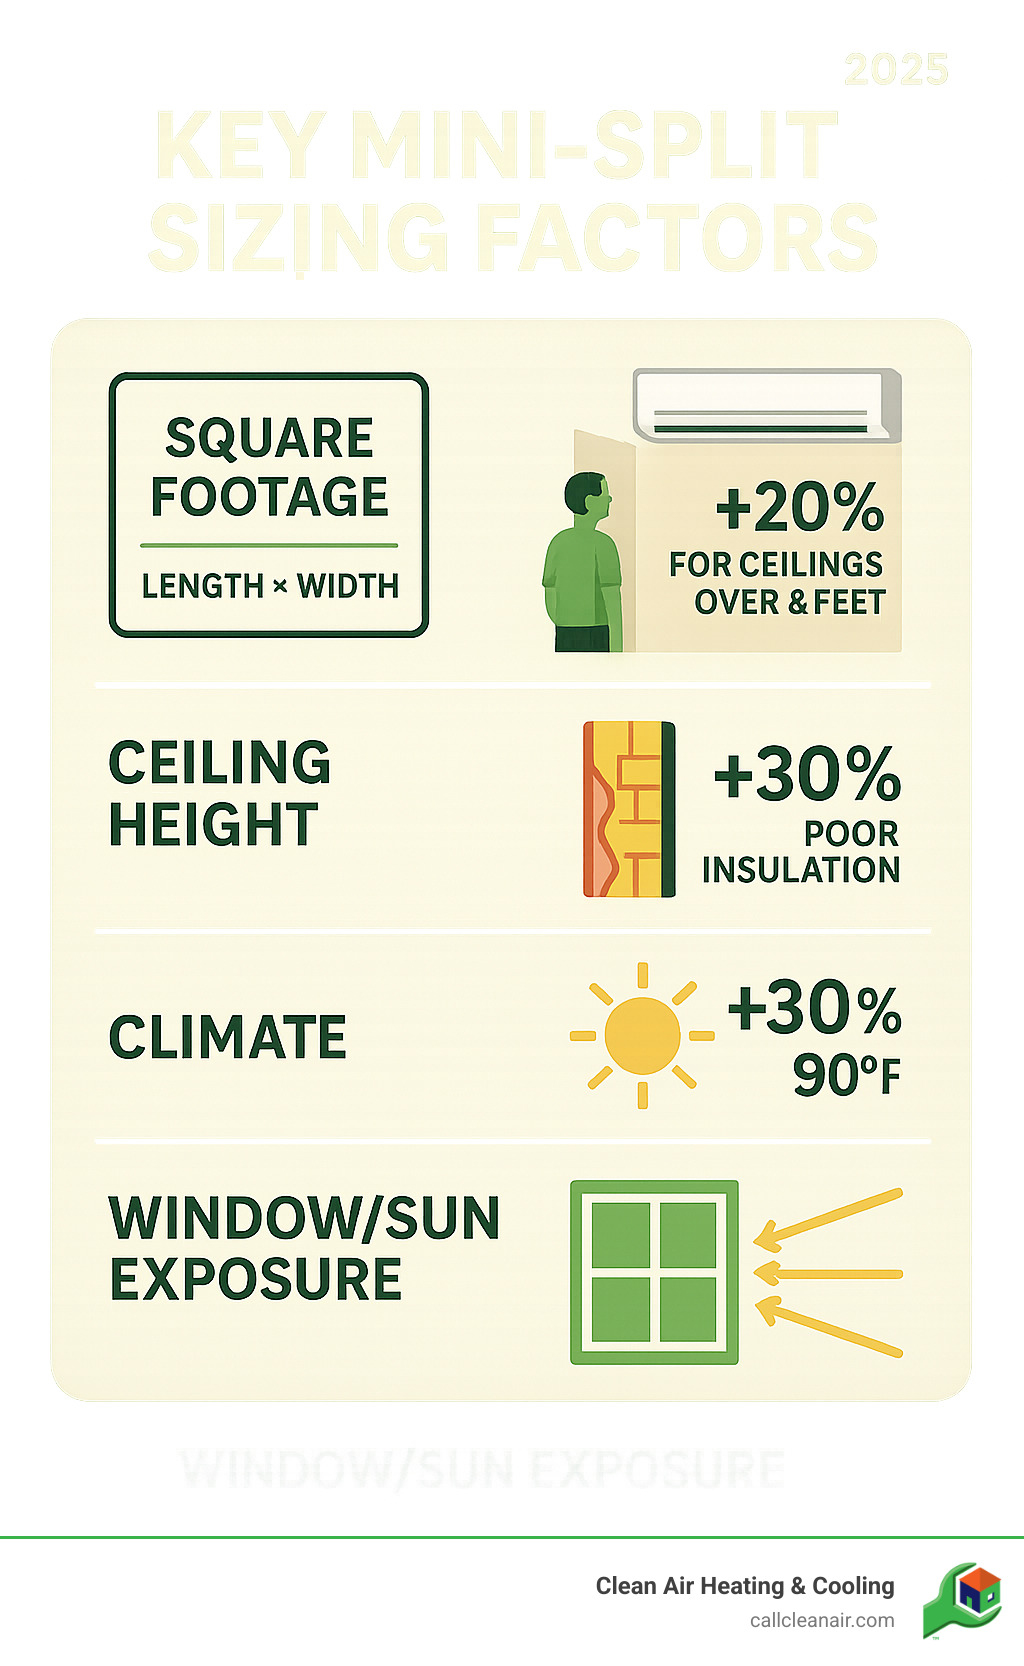
Here’s where things get interesting. The basic ductless sizing chart gives you a solid foundation, but your home has its own personality. These factors can significantly change your BTU requirements, sometimes by 20% or more.
Ceiling height makes a big difference because there’s more air to heat or cool. Standard calculations assume 8-foot ceilings. For every foot above that, add about 10% to your BTU requirement. Those beautiful 10-foot ceilings in your living room? They’ll need about 20% more capacity.
Insulation quality is huge, especially in older Pacific Northwest homes. Well-insulated walls and attics keep your conditioned air where it belongs. If your home has poor insulation, you might need 30% more BTUs to compensate for all that escaping comfort. On the flip side, a super-insulated modern home might get away with slightly less.
Climate considerations matter more than you might think. Here in Washington, we get some surprisingly hot summer days and chilly winters. Rooms that regularly see temperatures over 90°F might need up to 30% more cooling capacity.
Sun exposure and windows can dramatically affect your heating and cooling needs. A room with large south-facing windows acts like a greenhouse in summer. Single-pane windows are like leaving a door slightly open all the time. These situations often require 10-20% more capacity.
Heat-generating appliances add their own load to your calculations. Kitchens are the biggest culprits – we typically recommend adding about 4,000 BTUs just for the oven, stovetop, and other appliances. Even a home office with multiple computers and monitors generates extra heat.
By considering these factors, you’re moving from a rough estimate to a much more accurate sizing for your specific situation. This attention to detail is what separates comfortable, efficient systems from ones that struggle to keep up. Regular mini split maintenance will help ensure your properly sized system continues to perform at its best for years to come.
Single-Zone vs. Multi-Zone Sizing: What’s the Difference?
When we talk about mini-split systems, we’re usually referring to either a single-zone or a multi-zone setup. The way you approach sizing them, particularly with a ductless sizing chart, changes significantly between the two.
- Single-Zone System: This is the simplest configuration. It consists of one outdoor unit connected to one indoor unit. It’s designed to heat and cool a single, dedicated space, like a new home office, a garage conversion, or a sunroom addition. The sizing here is straightforward: you calculate the BTU needs for that one room, and that’s the size of the system you need.
- Multi-Zone System: This is where the magic of zoned comfort really shines! A multi-zone system uses one outdoor unit that can connect to multiple indoor units (often up to five, and some advanced systems can even connect up to eight!). Each indoor unit can be placed in a different room or “zone” and controlled independently. This means you can have your bedroom at one temperature, your living room at another, and turn off the unit in a guest room that’s not in use.
Multi-zone systems are perfect for whole-home heating and cooling, or for spaces where you want individual temperature control in different areas. This flexibility is a huge advantage, as it allows for personalized comfort and greater energy savings by only conditioning the spaces you’re using. If you’re considering a Mitsubishi mini split, you’ll find they offer excellent multi-zone options.
Sizing a Multi-Zone System with a Ductless Sizing Chart
Sizing a multi-zone system using a ductless sizing chart requires a slightly different approach than a single-zone system. Here’s how we tackle it:
- Individual Room Calculation: First, you’ll calculate the BTU requirements for each individual room or zone that will have an indoor unit. You’ll use the square footage calculation and all the adjustment factors (ceiling height, insulation, sun exposure, etc.) we discussed earlier for each space. This means your master bedroom might need a 12,000 BTU indoor unit, while a smaller guest bedroom might only need a 6,000 BTU unit. The indoor units don’t all need to have the same capacity or mounting style, giving you great flexibility.
- Summing BTU Needs (and the Nuance): Once you have the individual BTU needs for each indoor unit, you’ll add them all up. This sum gives you a rough idea of the total cooling/heating capacity required from your outdoor condenser unit. However, here’s an important nuance: the outdoor unit typically doesn’t need to be able to handle 100% of the combined BTU capacity of all indoor units running at full blast simultaneously. Why? Because it’s unlikely that every single indoor unit will be demanding maximum heating or cooling at the exact same time.
- Outdoor Unit Capacity: HVAC professionals use specific load calculation software to determine the precise outdoor unit capacity. A general rule of thumb in the industry is that a ductless system should not be sized more than ½ ton (or 6,000 BTUs) over the BTU/tonnage that resulted from a professional load calculation. This allows for some flexibility without oversizing. The outdoor unit must be sized appropriately to support the combined needs of all the indoor units, ensuring efficient operation even when multiple zones are active.
- Ensuring Compatibility: Beyond just BTUs, we ensure that the specific outdoor unit you choose is compatible with the number and types of indoor units you plan to install. Each manufacturer has charts and guidelines for which indoor units can connect to which outdoor units.
By carefully sizing each indoor unit and the overall outdoor condenser, we create a multi-zone system that provides optimal comfort and efficiency throughout your entire home. This also ensures a smooth mini split installation process.
Frequently Asked Questions about Mini-Split Sizing
Over the years, we’ve helped hundreds of homeowners in Whatcom, Skagit, Snohomish, and San Juan Counties find their perfect mini-split system. Along the way, we’ve noticed the same questions coming up again and again. Here are the answers to the most common sizing questions that might be on your mind too.
How much should I increase BTUs for a high ceiling?
High ceilings are beautiful, but they do present a unique challenge when you’re using a ductless sizing chart. Think about it this way: if your room is 12 feet by 12 feet with 8-foot ceilings, you have 1,152 cubic feet of air to condition. But bump those ceilings up to 12 feet, and suddenly you’re dealing with 1,728 cubic feet – that’s 50% more air!
A common rule is to increase the required BTU capacity by 20% for ceilings that are over 8 feet high to account for the additional air volume. Some HVAC professionals get even more specific, suggesting you add 10% for every 2 feet above the standard 8-foot height.
So if your basic calculation suggests you need 12,000 BTUs for a room with 10-foot ceilings, you’d bump that up by 10% to about 13,200 BTUs. For those gorgeous 12-foot cathedral ceilings? You’re looking at a 20% increase, bringing that 12,000 BTU estimate up to around 14,400 BTUs.
How does a kitchen affect my sizing calculation?
Kitchens are where the magic happens – and by magic, I mean a lot of heat generation! Your oven alone can add several degrees to your kitchen temperature, and that’s before we even consider the stovetop, dishwasher, and even your refrigerator’s heat output.
Kitchens contain heat-generating appliances like ovens and stovetops. It’s recommended to add approximately 4,000 BTUs to your calculation to compensate for this extra heat load. This isn’t just about comfort during your holiday cooking marathon – though your family will definitely appreciate staying cool while you’re preparing that big dinner.
We’ve seen too many homeowners struggle with kitchens that never quite feel comfortable because they didn’t account for appliance heat. That extra 4,000 BTUs ensures your mini-split can handle everything from your morning coffee routine to your weekend baking projects.
Do I need a different size unit for heating versus cooling?
This is where things get a bit more technical, but it’s crucial to understand, especially here in the Pacific Northwest. Yes, a unit’s heating and cooling capacities can differ. Most mini-splits actually have slightly higher heating capacity than cooling capacity, which sounds great until you factor in our climate reality.
In colder climates like the Pacific Northwest, it’s crucial to check the unit’s HSPF (Heating Seasonal Performance Factor) and its heating capacity at lower outdoor temperatures to ensure it can keep you warm all winter. The HSPF measures how efficiently your unit heats over an entire season, but what really matters is how well it performs when it’s 25°F outside and you need it most.
Many units that work beautifully for cooling struggle when outdoor temperatures drop below 20°F. That’s why we always look at the manufacturer’s performance curves – detailed charts that show exactly how much heating capacity a unit provides at different outdoor temperatures. It’s the difference between staying cozy all winter and needing backup heat when the weather gets serious.
This is one of those areas where a ductless sizing chart gives you a starting point, but professional expertise ensures you won’t be left shivering during our occasional cold snaps.
Get a Perfect Fit: Why a Professional Load Calculation is Best
While using a ductless sizing chart and applying adjustment factors gives you a great starting point, I’ll be honest with you – there’s only so much a chart can tell you about your unique home.
Think of it like buying shoes online. You know your size, but without trying them on, you might miss important details like how they fit your specific foot shape or walking style. The same principle applies to mini-split sizing.
A professional load calculation goes far beyond what any chart can offer. We use what’s called a Manual J Calculation – the gold standard in our industry. This detailed assessment examines every factor that affects your home’s heating and cooling needs, not just the obvious ones.
During a professional assessment, we measure the precise square footage of each room and examine your windows in detail. Are they single-pane or double-pane? Do they have Low-E coatings? We check the R-value of your insulation in walls, ceilings, and floors. We note which direction your home faces and how much sun exposure each room gets throughout the day.
Our local climate data for Whatcom, Skagit, Snohomish, and San Juan Counties plays a crucial role too. The way heat behaves in our Pacific Northwest climate is different from, say, Arizona or Florida. We factor in the number of people living in your home, the heat generated by your appliances and electronics, even the construction materials of your house and how much air leaks in and out.
All these details matter because they add up to create your home’s unique thermal fingerprint. A ductless sizing chart might get you in the ballpark, but a professional calculation puts you right on target.
At Clean Air Heating & Cooling, this thorough approach is why we can offer our 25% utility savings guarantee. When we size your system correctly from the start, it runs efficiently, keeps you comfortable, and lasts longer. Our over 480 5-star Google reviews reflect how this attention to detail translates into real satisfaction for homeowners throughout our service area.
The investment in a professional load calculation pays for itself through lower energy bills, fewer repairs, and that priceless peace of mind that comes with perfect comfort. If you’re wondering how much it costs to install a mini split, getting the sizing right the first time is the most important factor in your system’s long-term value.
Ready to get it right? Get a professional quote for your ductless mini-split system and let us create a custom comfort solution that’s perfectly matched to your home and lifestyle.

